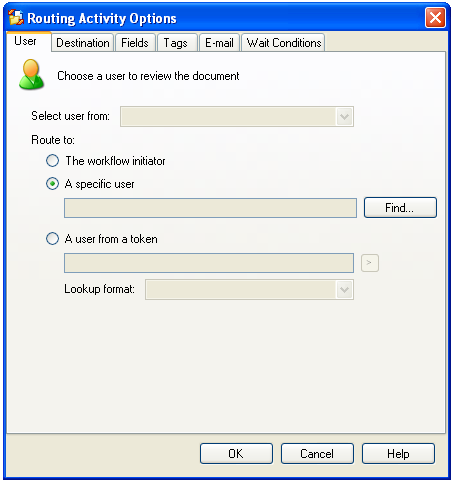
tab contains routing options for the Route Entry to User activity. It enables you to assign the entry to a user. All settings in this tab must be configured.
This tab contains routing options for the Route Entry to User activity. It enables you to assign the entry to a user. All settings in this tab must be configured.
To open the User tab
setting's icons to open the Routing Activity Options dialog box. To always assign the entry to the user who started the workflow
Give me an example.To always assign the entry to the same user
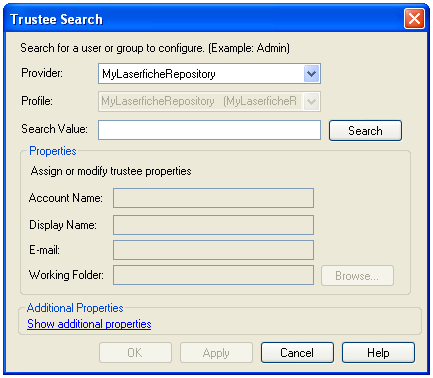
A specific user.Trustee Search dialog box.Note: Workflow 8 will only interact with a repository or Active Directory if it appears in the Workflow 8 Administration Console's User Sources node.
To assign the entry to a user based on a token value
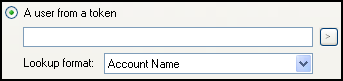
A user from a token value.Select user from (towards the top of the User Tab), select an existing connection profile. The profile you select should correspond to the Laserfiche repository your workflow will be associated with. to select a token. For more token options, select Token Dialog from the drop-down box.
Tip: Laserfiche automatically creates tokens for field values. You can use the Token dialog box to assign these tokens to this activity. Give me an example.
| For further help or feedback, please see the Laserfiche Support Site. | © 2010 Laserfiche, Inc. All Rights Reserved. |